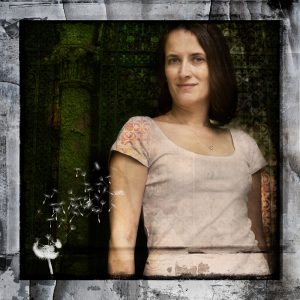

I have recently been experimenting with multiple texture overlays in CS3, to create slightly more abstract images as I start to move down the path of Fine Art Photography, and a comment from one of my friends on Flickr has prompted me to write this piece. Jeremy said “I have no idea what I’m looking at but whatever it is it’s beautiful”, and whilst this dissemination may remove some of the mystery in the image I felt I wanted to share how it came about, and what the original photographs used to create this final image actually were.
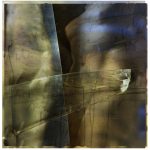
This is the original photograph, shot at Potters abandoned manor, of two postcards of nudes laid together, with a shard of broken glass from one of the nearby windows, positioned in such a way that it caught the light.

This is the second layer, a photograph also taken at Potters, of an envelope with some pencil writing on it. I am always drawn to detail, often the smaller the better, and I have a particular fascination for text and letter forms, especially hand writing. I took the photo at the time with the specific intention of using it as a texture layer in another image.

Finally, and perhaps the most incongruous of all, this photo is a close-up of a pint of lager in the pub! I loved the swirling golden mass, and the bubbles catching the light, and the shot came out in a very abstract way because I was so close to the glass. I rotated it in CS3 before applying it.

I merged all three images using different blend modes in CS3, creating the border using selections as I went – can’t really remember exactly how I did this, it evolved as I worked, and I am happy not to recall properly because I want each border to be unique. I erased the word “private” as it wasn’t needed here, also erased various parts of each layer to allow others to show through, and the end result was “Cut”.