

I was invited to test the Olloclip detachable lenses for the Member Section of The Journal. The following is my original unedited article, followed by the print version that appeared in the magazine.
‘I’d been interested in using lens extensions on my iPhone for some time, so was very pleased to be asked to test this kit, but ultimately felt a little disappointed with the end results.
A case for my iPhone was supplied as part of the kit, but the clip on lens attachment wouldn’t go over this and would only work when the phone wasn’t covered.
The kit came with wide angle/macro and telephoto lenses, a polarising filter, plus some kind of extension ring which I could not work out how to use and no instructions were supplied. The lens mount had a lens on each side, so to swap them round it had to be unclipped, reversed and clipped on again.
Overall the whole experience is what I would describe as ‘fiddly’. I don’t have big hands and I’m not clumsy but still found it awkward to manage all the pieces in the process of taking a photograph. Swapping the lenses over without the lens caps on resulted in fingerprints on the glass, so I found myself constantly taking the lens cap on and off and in and out of my pocket.
Photographs shot with the telephoto lens were clear in the centre of the image, but the quality deteriorated rapidly around the edges/corners with lack of focus and blue fringing on brighter elements. It was very similar with the wide angle lens as well, also showing blown highlights on the photograph that the iPhone camera by itself had exposed perfectly.
I tried the polarising filter but could see no obvious difference in the sky in my picture, although to be fair to the kit I wasn’t able to test it on a reflective surface.
In my opinion the macro lens is the most successful. This can definitely focus closer than the iPhone camera alone, although again there is a loss of definition around the edges of the photograph, but a limited depth of field is generally accepted with macro photography and in this instance matters less.
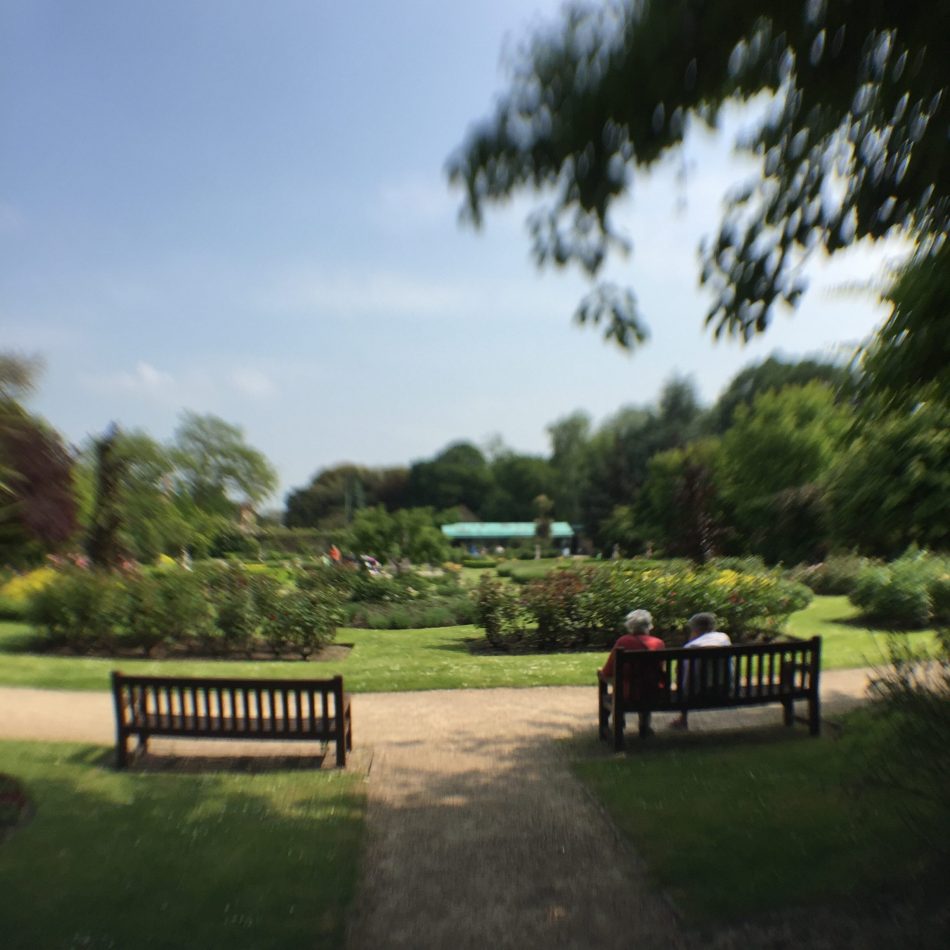
I discovered purely by mistake when the Olloclip lens wasn’t lined up properly with the iPhone camera, that this can give an interesting blurring effect reminiscent of a Lensbaby. For those interested in this sort of creative effect, this may inadvertently be the best use for this kit!
I am very glad to have tried the Olloclip, but from now on will be sticking with my unadulterated iPhone for the kind of quick and hassle-free photography that I have come to associate with iPhoneography.’

The following two shots was taken with the Olloclip not quite properly aligned over the camera lens on the iPhone, which gives quite a creative blurred effect, almost like the result seen from a Lensbaby. Probably my favourite effect from using these lenses!


Hi Viveca, I had considered something like this, but my travel blog shots really didn’t require it. What an optician in Portugal did for me (free for the sake of the challenge), was to take a polarized sunglasses lens, cut it to shape in the optical center and slipped it in between my fone and it’s protective cover. Bingo! I had a polarizing filter that worked beautifully – except the lens was brown.
Good idea though because having a polarizing filter on a smartfone often gives better shots. As long as the protective cover is nice and snug, the filter doesn’t slip and also protects the camera lens.
Like you I just used the bare fone. Mine is a Galaxy SII (read inside of iPhone 4s) and I set my size at 640 x 540 (couldn’t do that on iPhone). A slight reduction to 512 x 384 and I didn’t lose any detail. Shots were okay, but I’m going back to my Leica/Lumix as travel camera and just use the smartfone for emergency pics.